How to make a Font Size Slider in React with Material UI
Dynamic font size sliders are great for boosting accessibility on your website

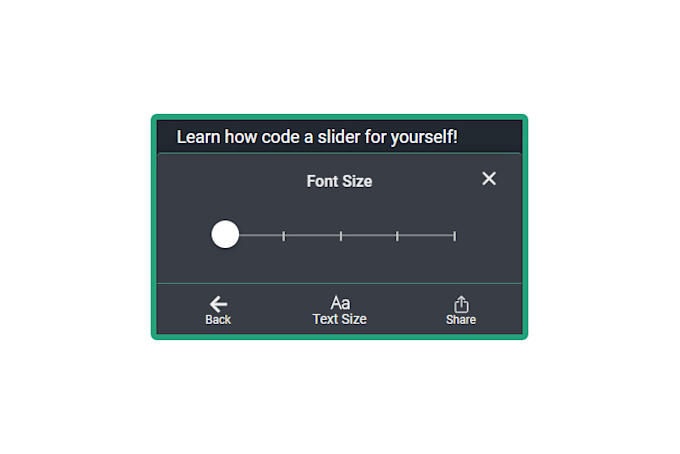
Wondering how to code a slider/toggle to change the font size on the screen? This feature can be seen on sites like the Wall Street Journal (and cough cough, the blog we sell). This article will show you how, step-by-step.
Live Demo of Finished Product
Approach
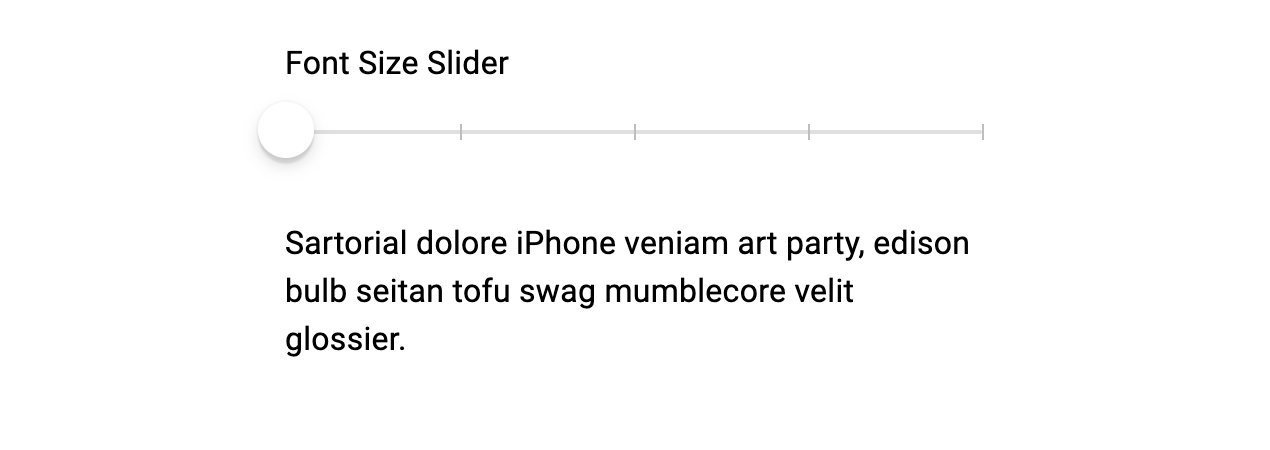
The goal is to end up with a slider that controls the size of the font displayed on the screen. We'll be using Material-UI for the slider and React as the framework. For its simplicity, we'll use React.useState in this demo. You can easily extrapolate the code to use useReducer/useContext. Helpful links:
Note: If using a static-site generator you will run in to some issues. A few extra steps are required. We have a tutorial on how to make a Font Size Slider in Gatsby which you can read here: (coming soon)
Setup - The Slider
The slider itself is your boilerplate slider. Make sure you have MUI installed, npm install @material-ui/core
Next, the slider:
import React from "react";
import { withStyles, makeStyles } from "@material-ui/core/styles";
import Slider from "@material-ui/core/Slider";
import Typography from "@material-ui/core/Typography";

const marks = [
  {
    value: 0
  },
  {
    value: 25
  },
  {
    value: 50
  },
  {
    value: 75
  },
  {
    value: 100
  }
];

const IOSSlider = withStyles({
  root: {
    color: "#3880ff",
    height: 2,
    padding: "15px 0"
  },
})(Slider);

export default function CustomizedSlider() {
  const classes = useStyles();

  return (
      <Typography gutterBottom>Font Size Slider</Typography>
      <IOSSlider
        aria-label="Font Size Slider"
        defaultValue={25}
        marks={marks}
        step={25}
      />
  );
}
Note that we set step={25} so that the slider snaps to either 0%, 25%, 50%, 75%, or 100% (the marks we set above).
Setup - React State Values
We'll need two pieces of state to control our font size and our slider.
  const [userFontSize, setUserFontSize] = React.useState("1rem");
  const [sliderTracker, setSliderTracker] = React.useState(0);
- userFontSize will track the preferred font size. We'll set it to 1rem by default
- sliderTracker tracks the "mark" that the slider is currently set to. We'll need to track this in conjunction with the fontSize to make sure the slider displays the accurate font size
Setup - The Text
Last but not least, we need to set up the font with some way to change it dynamically based on the users preference. This is where our state comes in. We just need to add an inline style referencing our state value. We're left with the following:
import React from "react";
import { withStyles, makeStyles } from "@material-ui/core/styles";
import Slider from "@material-ui/core/Slider";
import Typography from "@material-ui/core/Typography";

const marks = [ ... ];

const IOSSlider = withStyles({
  root: {
    color: "#3880ff",
    height: 2,
    padding: "15px 0"
  },
})(Slider);

export default function CustomizedSlider() {
  const classes = useStyles();
  const [userFontSize, setUserFontSize] = React.useState("1rem");
  const [sliderTracker, setSliderTracker] = React.useState(0);

  return (
    <>
      <Typography gutterBottom>Font Size Slider</Typography>
      <IOSSlider
        aria-label="Font Size Slider"
        defaultValue={25}
        marks={marks}
        step={25}
      />
      <Typography variant="body1" style={{ fontSize: `${userFontSize}` }}>
        Sartorial dolore iPhone veniam art party, edison bulb seitan tofu swag
        mumblecore velit glossier.
      </Typography>
  </>
  );
}

The Action - Updating the Font Size
Now for the main event - how do we change the font size when the user updates the slide? Well, all we need to do is update our pieces of state to track the font size and the step that the slider is at. For this, we'll set up a simple switch statement:
const handleChange = (e, newValue) => {
  switch (newValue) {
    case 0: {
      setUserFontSize("1rem");
      setSliderTracker(0);
      break;
    }
    case 25: {
      setUserFontSize("1.19rem");
      setSliderTracker(25);
      break;
    }
    case 50: {
      setUserFontSize("1.37rem");
      setSliderTracker(50);
      break;
    }
    case 75: {
      setUserFontSize("1.55rem");
      setSliderTracker(75);
      break;
    }
    case 100: {
      setUserFontSize("1.75rem");
      setSliderTracker(100);
      break;
    }
    default: {
      break;
    }
  }
};
Then, we'll update our slider to call the function when the user releases the slider:
      <IOSSlider
        aria-label="Font Size Slider"
        onChangeCommitted={handleChange}
        defaultValue={sliderTracker}
        key={sliderTracker}
        marks={marks}
        step={25}
        valueLabelDisplay="off"
      />
- onChangeCommited updates our userFontSize and sliderTracker state
- defaultValue={sliderTracker} sets the sliders default position to our state value
- Importantly, We add a key to the slider to tell React that it's a controlled component. If you don't do this, you'll get an annoying error message that looks like this:
Material-UI: A component is changing the default value state of an uncontrolled Slider after being initialized. To suppress this warning opt to use a controlled Slider.
Wrapup - You're done!
That's all it takes! You can check out the final code here
You can extend this to setting the preferred font size in local storage, like:
localStorage.setItem('preferred-font-size', '1.1')
and set a useEffect function to read the local storage and set the initial state as that. However, we've excluded that in this post for the sake of simplicity.
Here's the final product:


More from Snappy Web Design
Subscribe to the Snappy Web Design Blog to get notified when a new post goes live. We'll never share your e-mail address or use it for any reason other than to share new posts.
Published May 5
Discover the secrets to designing a website that speaks to your small business's unique identity
As a website developer in Michigan, I’ve worked with many small business owners looking to redesign their websites to increase sales and connect with new and existing customers. As such, I’ve seen what works and what doesn’t work and cultivated a list of valuable tips that I give to all my clients.
As a small business owner in Michigan, your website is frequently the first impression that customers have of your company. It’s essential that your website is not only visually appealing an...
Published September 1
Snappy Web Design is the one-stop-shop for web design.
Michigan's Newest Web Design Company
You search Google for “Michigan web design” and find my site. I’m Joe, and I’m the head developer at Snappy Web Design. I’m the new guy on the block, and an expert in providing full-service web design for small business owners in MI.
I’m different from typical web design agencies because I aim to be your partner for all things related to your onli...
Published August 0
A horrifying trip through poor UX design
Visit this website and you’ll be infiltrated by three separate popup modals and two banners urging you to sign up for something. You’ll be forced to sequentially close the popups and banners to actually see the text on the page. One modal, fine - but three of them? And two banners? A bit excessive. The worst is yet to come ...


